
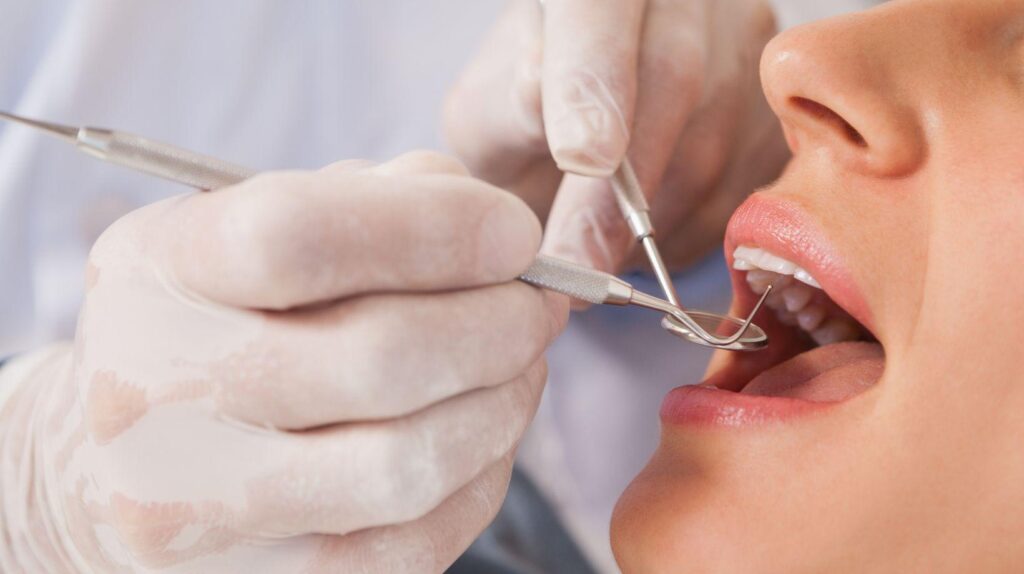
If dental visits make you tense, you’ve got options that let you get care without all the dread. You can pick from mild nitrous oxide to deeper oral or IV sedation, so procedures stay comfortable and safe while the dental team keeps an eye on you.
This article breaks down how each method works and what to expect before and after treatment. With sedation dentistry by The Smile Company in Greenville, you’ll get a sense of which safety factors matter most, so you can choose the right level of comfort for your needs.
Learn the steps to get ready for sedation and the basics of recovery. Hopefully, you’ll feel more confident about scheduling your next appointment.
Types of Sedation Methods
You’ve got three common options in most dental offices. They differ by how fast they work, how deep the relaxation goes, what kind of monitoring you’ll need, and how long it takes to bounce back.
Each method changes your level of awareness, how long you’ll need someone with you, and what you’ll need to do before your visit.
Nitrous Oxide Sedation
Nitrous oxide (or laughing gas) mixes with oxygen, and you breathe it in through a small mask over your nose. You’ll feel relaxed within minutes, and when they take the mask off, the effects fade fast.
Most people can drive themselves home after a short observation period. You’ll stay awake and responsive with nitrous oxide, so it fits mild to moderate anxiety, longer cleanings, and basic restorative work.
Side effects are usually mild—maybe a little lightheadedness, tingling, or mild nausea, but that’s pretty rare. Staff will check your vital signs and make sure you’re alert.
If you have a history of respiratory problems or you’re pregnant, let the dentist know. That can affect whether nitrous oxide is right for you.
Oral Conscious Sedation
Oral conscious sedation uses a pill—usually a benzodiazepine—that you take about 30 to 90 minutes before your appointment. It brings on a deeper sense of calm, and you might feel drowsy or forget parts of the procedure, but you can still follow simple instructions.
You’ll need a responsible adult to drive you home and stay with you until the sedative wears off. Don’t mix alcohol or certain meds beforehand; your dentist will give you specific do’s and don’ts.
The team will check your pulse, blood pressure, and oxygen now and then. Be sure to talk about your medications, liver health, and any history of sleep apnea so they can pick the right dose.
IV Sedation Techniques
IV sedation means the dentist delivers sedative drugs straight into your vein, so it works fast and can be adjusted during the procedure. It’s deeper than nitrous or oral sedation and is common for things like extractions, implants, or when someone has major dental anxiety.
They’ll monitor your heart rate, blood pressure, oxygen, and sometimes your breathing’s carbon dioxide. You’ll need to fast beforehand and have someone drive you home and stick around afterward.
Tell them about your medical history, any meds you’re on, and past reactions to anesthesia. The dentist or anesthesiologist will adjust drug choices and doses as needed to keep you safe.
Benefits and Safety Considerations
Sedation can really help dial down anxiety, control pain, and make longer or more involved procedures doable in one visit. With the right protocols and screening, the risks stay low and recovery goes more smoothly.
Patient Comfort Strategies
Depending on your anxiety level and the procedure, you can pick nitrous oxide, oral sedation, or IV sedation. Nitrous works within minutes and wears off quickly, so you might be able to drive yourself home.
Oral sedation leaves you groggy for a while, so you’ll need a ride. IV sedation goes deeper, is adjustable, and usually means you’ll be monitored in the office until you’re good to go.
The staff will adjust your sedation based on your weight, health history, and how complex the procedure is. Always let them know about your current meds, recent illnesses, or if you’re pregnant.
Expect to get fasting instructions for oral and IV sedation. Following those helps lower the risk of nausea or breathing trouble.
Safety Protocols for Sedation
Dental offices in Greenville should use standard monitoring—think pulse oximetry, blood pressure checks, and heart monitoring for deeper sedation. Trained staff keep airway gear and emergency meds close at hand.
Before you get any sedation, you’ll sign an informed consent form that covers what to expect, how long recovery might take, and possible complications like nausea or, in rare cases, breathing issues.
The office should have written protocols for dosing, recovery, and discharge. Ask if the staff keep up with certifications like ACLS or PALS, depending on the patient group.
It’s worth asking about their emergency plan and how often they practice drills. It’s your safety, after all.
Candidacy and Contraindications
Which sedation you qualify for depends on your health history, age, and what kind of dental work you need. Nitrous oxide usually works for most adults and kids with mild to moderate anxiety and good respiratory health.
Oral sedation helps with moderate anxiety but isn’t ideal if you take certain CNS depressants, have sleep apnea, or liver issues. IV sedation gives more control for complicated cases but comes with higher risk—so it’s not for people with uncontrolled heart disease, severe lung problems, or certain drug interactions.
Bring a full list of your meds and recent health records to your appointment. The dentist or anesthesiologist will check your heart history, allergies, BMI, and airway anatomy to decide what’s best and if you need medical clearance from your doctor.
Steps to Prepare for Sedation
You’ll go through a medical review, make decisions about meds, and follow fasting and transportation rules. Getting ready the right way keeps risks down and helps your appointment stay on track.
Consultation and Assessment
At your consult, the dentist or anesthetist will look over your medical history, meds, allergies, and any past reactions to sedation. Bring a list of everything you take—prescriptions, OTC meds, supplements, and doses.
Mention recent heart, breathing, or nerve issues, and if you’ve got sleep apnea. The provider will decide which level of sedation fits your procedure and anxiety—nitrous, oral, or IV.
Sometimes they’ll check your vital signs, oxygen, or refer you to your primary care doctor if you have high blood pressure, diabetes, or bleeding problems. Ask about their success rates, side effects, and what happens if something doesn’t go as planned.
You’ll sign consent forms and confirm who’s picking you up. If you’re having deeper sedation, you’ll need someone to stay with you for several hours afterward.
Pre-Procedure Instructions
Follow fasting instructions exactly—usually no solid food for 6 to 8 hours before IV sedation, and no clear liquids within 2 hours, but double-check with your provider. For nitrous oxide, you might be able to eat lightly, but ask first.
Only stop or change your meds if your clinician says so. Often, you’ll pause blood thinners or certain supplements; keep taking essential meds like heart or seizure pills with a sip of water, unless told otherwise.
Bring any meds you need to take the morning of your appointment in their original bottles. Wear loose, comfy clothes and skip heavy makeup, jewelry, or strong scents.
Set up a ride—you can’t drive after oral or IV sedation. Plan to rest at home with someone keeping an eye on you for at least 24 hours if you’ve had deep sedation.
Recovery and Post-Treatment Care
You’ll probably feel groggy after IV or oral sedation, or a bit light-headed after nitrous oxide. Stick to the instructions on eating, driving, meds, and wound care to keep things smooth and speed up recovery.
Immediate Aftercare
You’ll need someone to drive you home after IV or oral sedation. Don’t plan on driving or operating machinery for 24 hours unless your provider gives the green light.
Rest for the day and skip alcohol or sedating meds unless your dentist or anesthesiologist says it’s okay. If you have bleeding or swelling, use gentle pressure with gauze and apply an ice pack on and off (20 minutes at a time) for the first 6 to 12 hours.
Take painkillers and antibiotics as directed, and if you use over-the-counter pain meds, double-check they’re safe with your prescriptions. Eat soft, cool foods until the numbness wears off so you don’t accidentally bite your cheek or tongue.
Keep up with basic oral hygiene—brush gently and rinse with warm salt water after 24 hours, or as your dentist tells you. That’ll help lower the risk of infection.
Long-Term Oral Health Considerations
Book your follow-up appointments as your dentist suggests. These visits help them check your healing, remove any sutures, and review bigger procedures done under sedation.
Wondering if you need more appointments for things like crowns or implants? Just ask your dentist if you’re unsure.
Watch out for warning signs: pain that gets worse after two days, bleeding that won’t quit, a fever, swelling that keeps growing, or any weird discharge. If you spot any of these, call your dental office right away.
If you needed sedation because of anxiety, talk to your dentist about how to make future visits easier. Maybe shorter appointments, nitrous oxide for mild nerves, or scheduled oral sedatives could help.
Jot down which medications you took and any side effects. That way, your future providers know what works (and what doesn’t) for you.